Designing a 2×8 Pergola Rafter Tail Template
Designing a rafter tail template for a 2×8 pergola involves careful measurements and considerations to ensure a visually appealing design that fits the overall aesthetic of the pergola. Here is a step-by-step process to help you create the perfect template:
1. Measure the Dimensions
Start by measuring the length and width of your 2×8 rafter. This will determine the overall size and shape of your rafter tail template. Consider the desired overhang of the tail and factor that into your measurements.
2. Determine the Style
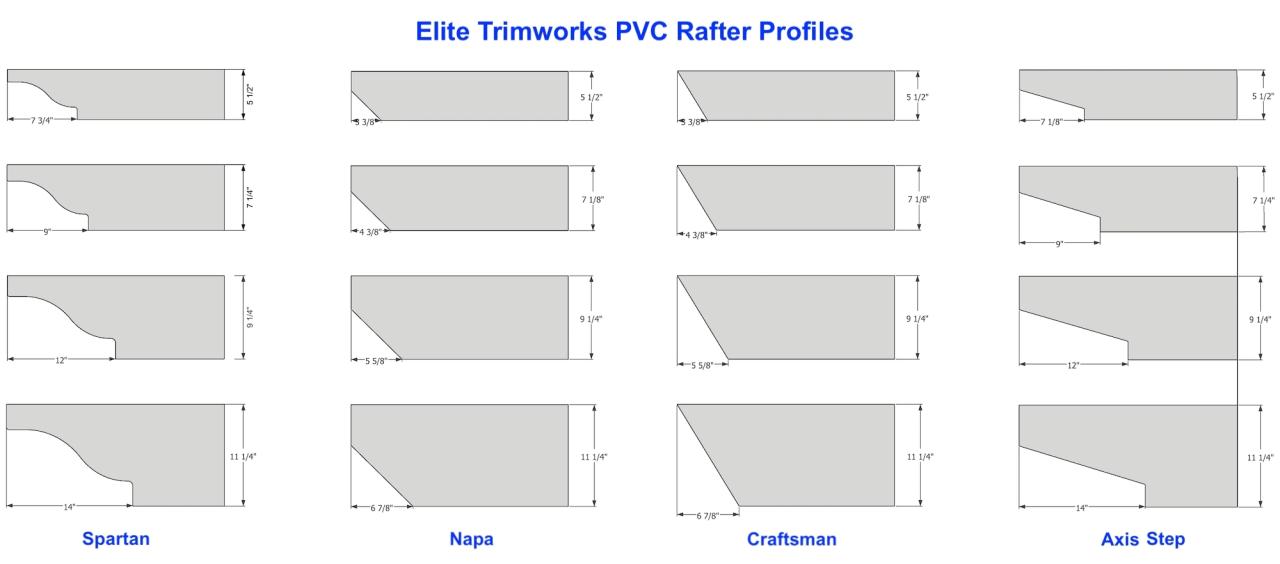
Decide on the style of rafter tail you want for your pergola. There are various design options to choose from, including geometric shapes, curves, scrolls, or even custom designs. Consider the architectural style of your pergola and the overall aesthetic you want to achieve.
3. Sketch the Template
Using graph paper or a computer design program, sketch out the rafter tail template based on your measurements and chosen style. This will allow you to visualize the design and make any necessary adjustments before cutting the actual rafter.
4. Cut the Template
Once you are satisfied with the design, transfer the template onto a sturdy material such as plywood or MDF board. Use a jigsaw or other appropriate cutting tool to carefully cut out the template. Take your time and follow the lines precisely to ensure a clean and accurate cut.
5. Test and Adjust
Before using the template on your actual rafters, it’s a good idea to test it out on a scrap piece of wood. This will allow you to make any final adjustments to the template if needed. Once you are confident in the fit and design, you can proceed to use the template on your actual rafters.
6. Repeat for Each Rafter
Depending on the size and layout of your pergola, you may need multiple rafters with rafter tails. Repeat the process for each rafter, ensuring consistent measurements and design across all of them.Creating a visually appealing rafter tail template involves attention to detail and a good eye for design.
Here are some additional tips and techniques to consider:
Incorporate symmetry
Symmetrical designs often create a pleasing aesthetic. Consider using mirror images or repeating patterns for a balanced look.
Add decorative elements
Consider adding decorative elements such as carvings, chamfers, or scallops to enhance the visual appeal of your rafter tails.
Consider the overall scale
The size and scale of your rafter tails should be proportional to the pergola and the surrounding space. Avoid designs that are too small or too large for the overall structure.
Seek inspiration
Look for inspiration in architectural magazines, online resources, or even in nature. Take note of designs that catch your eye and incorporate elements that resonate with your personal style.Remember, the design of your rafter tails is a personal choice and should reflect your individual taste and the overall design of your pergola.
Have fun with the process and don’t be afraid to get creative!
Using the Printable PDF Template

Downloading and printing the PDF template is a simple and straightforward process. Follow the steps below to get started:
- Visit the website where the PDF template is available for download.
- Locate the download link for the PDF template and click on it.
- Choose the destination folder on your computer where you want to save the downloaded file.
- Wait for the download to complete. This may take a few moments depending on your internet connection.
- Once the download is finished, navigate to the folder where the PDF template was saved.
- Open the PDF file using a PDF reader software. If you don’t have a PDF reader installed on your computer, you can download one for free from the internet.
- With the PDF file open, you can now print the template. Go to the “File” menu and select the “Print” option. Alternatively, you can use the keyboard shortcut Ctrl + P (Windows) or Command + P (Mac).
- Configure the print settings according to your preferences, such as selecting the appropriate printer and adjusting the number of copies.
- Click on the “Print” button to start printing the PDF template. Make sure you have enough paper loaded in your printer.
- Wait for the printing process to complete. Once finished, you will have a physical copy of the PDF template ready to use for your pergola rafter tails.
Using a printable template offers several advantages:
1. Accuracy
The PDF template provides precise measurements and dimensions for the pergola rafter tails, ensuring that each cut is accurate and consistent.
2. Time-saving
By using a pre-designed template, you eliminate the need for manual measurements and calculations. This saves you time and effort in designing and creating the rafter tails.
3. Easy to use
The template is user-friendly and can be easily printed and followed. It provides clear instructions and guidelines for cutting the rafter tails, making the process simple and accessible to both beginners and experienced woodworkers.To use the template effectively, follow these step-by-step instructions:
- Print the PDF template following the steps mentioned earlier.
- Cut out the printed template along the Artikel of the rafter tail shape.
- Place the template on top of the wood material you will be using for the rafter tails.
- Align the template with the edge of the wood and secure it in place using clamps or tape.
- Trace the Artikel of the template onto the wood using a pencil or marker.
- Remove the template from the wood.
- Use a saw or other appropriate cutting tools to cut along the traced lines.
- Sand the cut edges to smooth out any roughness.
- Repeat the process for each rafter tail needed for your pergola.
Tips and tricks for getting accurate results when cutting the rafter tails:
- Double-check the print settings before printing the PDF template to ensure it is printed at the correct scale.
- Use a sharp pencil or marker to trace the template onto the wood, ensuring clear and precise lines.
- Take your time when cutting the wood, following the traced lines closely to avoid any errors or inaccuracies.
- Use clamps or a secure hold to keep the wood in place while cutting, ensuring stability and preventing any movement that could affect the accuracy of the cuts.
- Regularly check the progress of your cuts to ensure they are aligned with the template and making any necessary adjustments as needed.
By following these steps and tips, you can effectively use the printable PDF template to create accurate and precise rafter tails for your 2×8 pergola.
Customizing the Template

When working on a specific project, it is important to customize the template to meet your specific requirements. This allows you to create a pergola rafter tail that fits perfectly with your overall design. Here are some tips on how to customize the template:
Modifying the Dimensions of the Rafter Tails
To modify the dimensions of the rafter tails, you can adjust the measurements provided in the template. The template should include the necessary measurements for the length, width, and depth of the rafter tails. Simply change these measurements according to your desired dimensions.
It is important to ensure that the modifications you make are proportionate and balanced with the rest of the pergola design.
Adding Decorative Elements to the Template
If you want to add decorative elements to the rafter tail template, you can do so by incorporating additional design elements. This could include carving intricate patterns, adding decorative brackets or corbels, or even painting the rafter tails in different colors.
The template can serve as a base for your creativity, allowing you to customize the design and make it unique to your project.
Considering the Overall Design of the Pergola
When customizing the template, it is important to consider the overall design of the pergola. The rafter tails should complement the style and aesthetic of the entire structure. Take into account the architectural style, materials used, and any existing design elements.
This will ensure that the customized rafter tails blend seamlessly with the pergola and enhance its overall appearance.Remember, customization allows you to create a unique and personalized pergola rafter tail. By modifying the dimensions, adding decorative elements, and considering the overall design, you can create a template that perfectly suits your project requirements.
Troubleshooting and Common Mistakes

When using the 2×8 Pergola Rafter Tail Template, it is important to be aware of common mistakes that can occur. By understanding these mistakes and knowing how to troubleshoot and fix them, you can ensure a successful project. Additionally, we will share tips for avoiding errors when cutting the rafter tails and address any potential challenges or difficulties that users may encounter when using the template.
Incorrect Measurements
One common mistake that can occur when using the template is taking incorrect measurements. It is crucial to carefully measure and mark the dimensions on the template before cutting the rafter tails. Double-check your measurements to avoid any errors. If you notice any discrepancies, remeasure and correct them before proceeding.
Improper Alignment
Another mistake that can happen is improper alignment of the template with the rafter. It is essential to ensure that the template is aligned correctly before tracing and cutting the rafter tails. Use clamps or other tools to hold the template securely in place.
Check the alignment multiple times to avoid any misalignment issues that can affect the final result.
Using the Wrong Saw Blade
Using the wrong saw blade can lead to rough cuts or damage to the wood. Make sure to use a saw blade specifically designed for cutting wood and suitable for the thickness of the material you are working with. Using a blade with too few or too many teeth can result in a poor finish or splintering.
Refer to the manufacturer’s recommendations for selecting the appropriate saw blade.
Insufficient Support
Insufficient support for the rafter tails can cause them to sag or break. Ensure that you have adequate support in place when cutting the rafter tails. Use sawhorses or a sturdy workbench to support the material during cutting. This will help maintain the stability of the rafter tails and prevent any damage.
Challenges with Complex Designs
If you are working with a complex design or intricate patterns, you may encounter challenges when using the template. Take your time and carefully follow the lines on the template to ensure accurate cuts. Consider using a coping saw or other specialized tools for intricate designs.
Practice on scrap wood before working on the actual rafter tails to familiarize yourself with the process.
Avoiding Errors
To avoid errors when cutting the rafter tails, it is essential to follow these tips:
- Double-check your measurements before cutting.
- Ensure proper alignment of the template with the rafter.
- Use the appropriate saw blade for the job.
- Provide sufficient support for the rafter tails during cutting.
- Take your time and be patient, especially with complex designs.
By being mindful of these common mistakes and following the troubleshooting tips and error-avoidance techniques, you can successfully use the 2×8 Pergola Rafter Tail Template for your project.